
Avocado Brownies with Peanut Butter Swirl


I’ve been using avocado lately in salads and other savory dishes where you would expect it but I decided to try out avocado in something sweet and I was really happy with the results! I replaced all the butter in these brownies with avocado and it turned out really delicious! I’m a big fan of peanut butter with chocolate so I decided to swirl some on top. The result is brownies that are fudgy and deeply chocolaty with just the right amount of peanut butter.

There are many reasons to love avocados: their creamy taste, their impressive fiber content, about 2 grams per ounce, and the many vitamins (B6, C, K, folate…) they contain. Plus, the potassium helps to regulate blood pressure and the healthy fats are very beneficial.
I found this side by side comparison of avocado vs. butter:

Wow! Quite the difference! Even though you should still eat these brownies in moderation I feel A LOT better about them! 🙂


- 2 large, ripe avocados mashed until creamy (about 1 cup)
- 8 ounces semisweet or dark chocolate, melted (I used the microwave in 30 second intervals stirring between each interval)
- 3 tablespoons coconut oil, melted
- 3/4 cup sugar
- 2 large eggs
- 1 teaspoon vanilla extract
- 3/4 cup all-purpose flour
- 1/4 cup cocoa powder
- 1/2 teaspoon baking powder
- 1/4 teaspoon salt
- 1/4 cup semisweet or dark chocolate chips to be stirred in before baking
- 1/4 cup peanut butter (for swirling on top)
- Preheat oven to 350° F. Line an 8-inch square baking pan with parchment paper.
- In a large bowl, whisk together mashed avocados, melted chocolate and coconut oil until smooth and creamy. Whisk in sugar. Mix in eggs, one at a time, until well combined. Add vanilla and chocolate chips.
- In a small bowl, combine flour, cocoa powder, baking powder and salt. Stir flour mixture and 1/4 cup chocolate chips into avocado mixture until just combined.
- Spread batter into the prepared pan.
- Spoon the peanut butter over the top of the brownie mixture and using a knife, swirl it through the chocolate mixture.
- Bake until a toothpick inserted into the center comes out clean, 30 to 35 minutes. Let cool and then cut into squares.
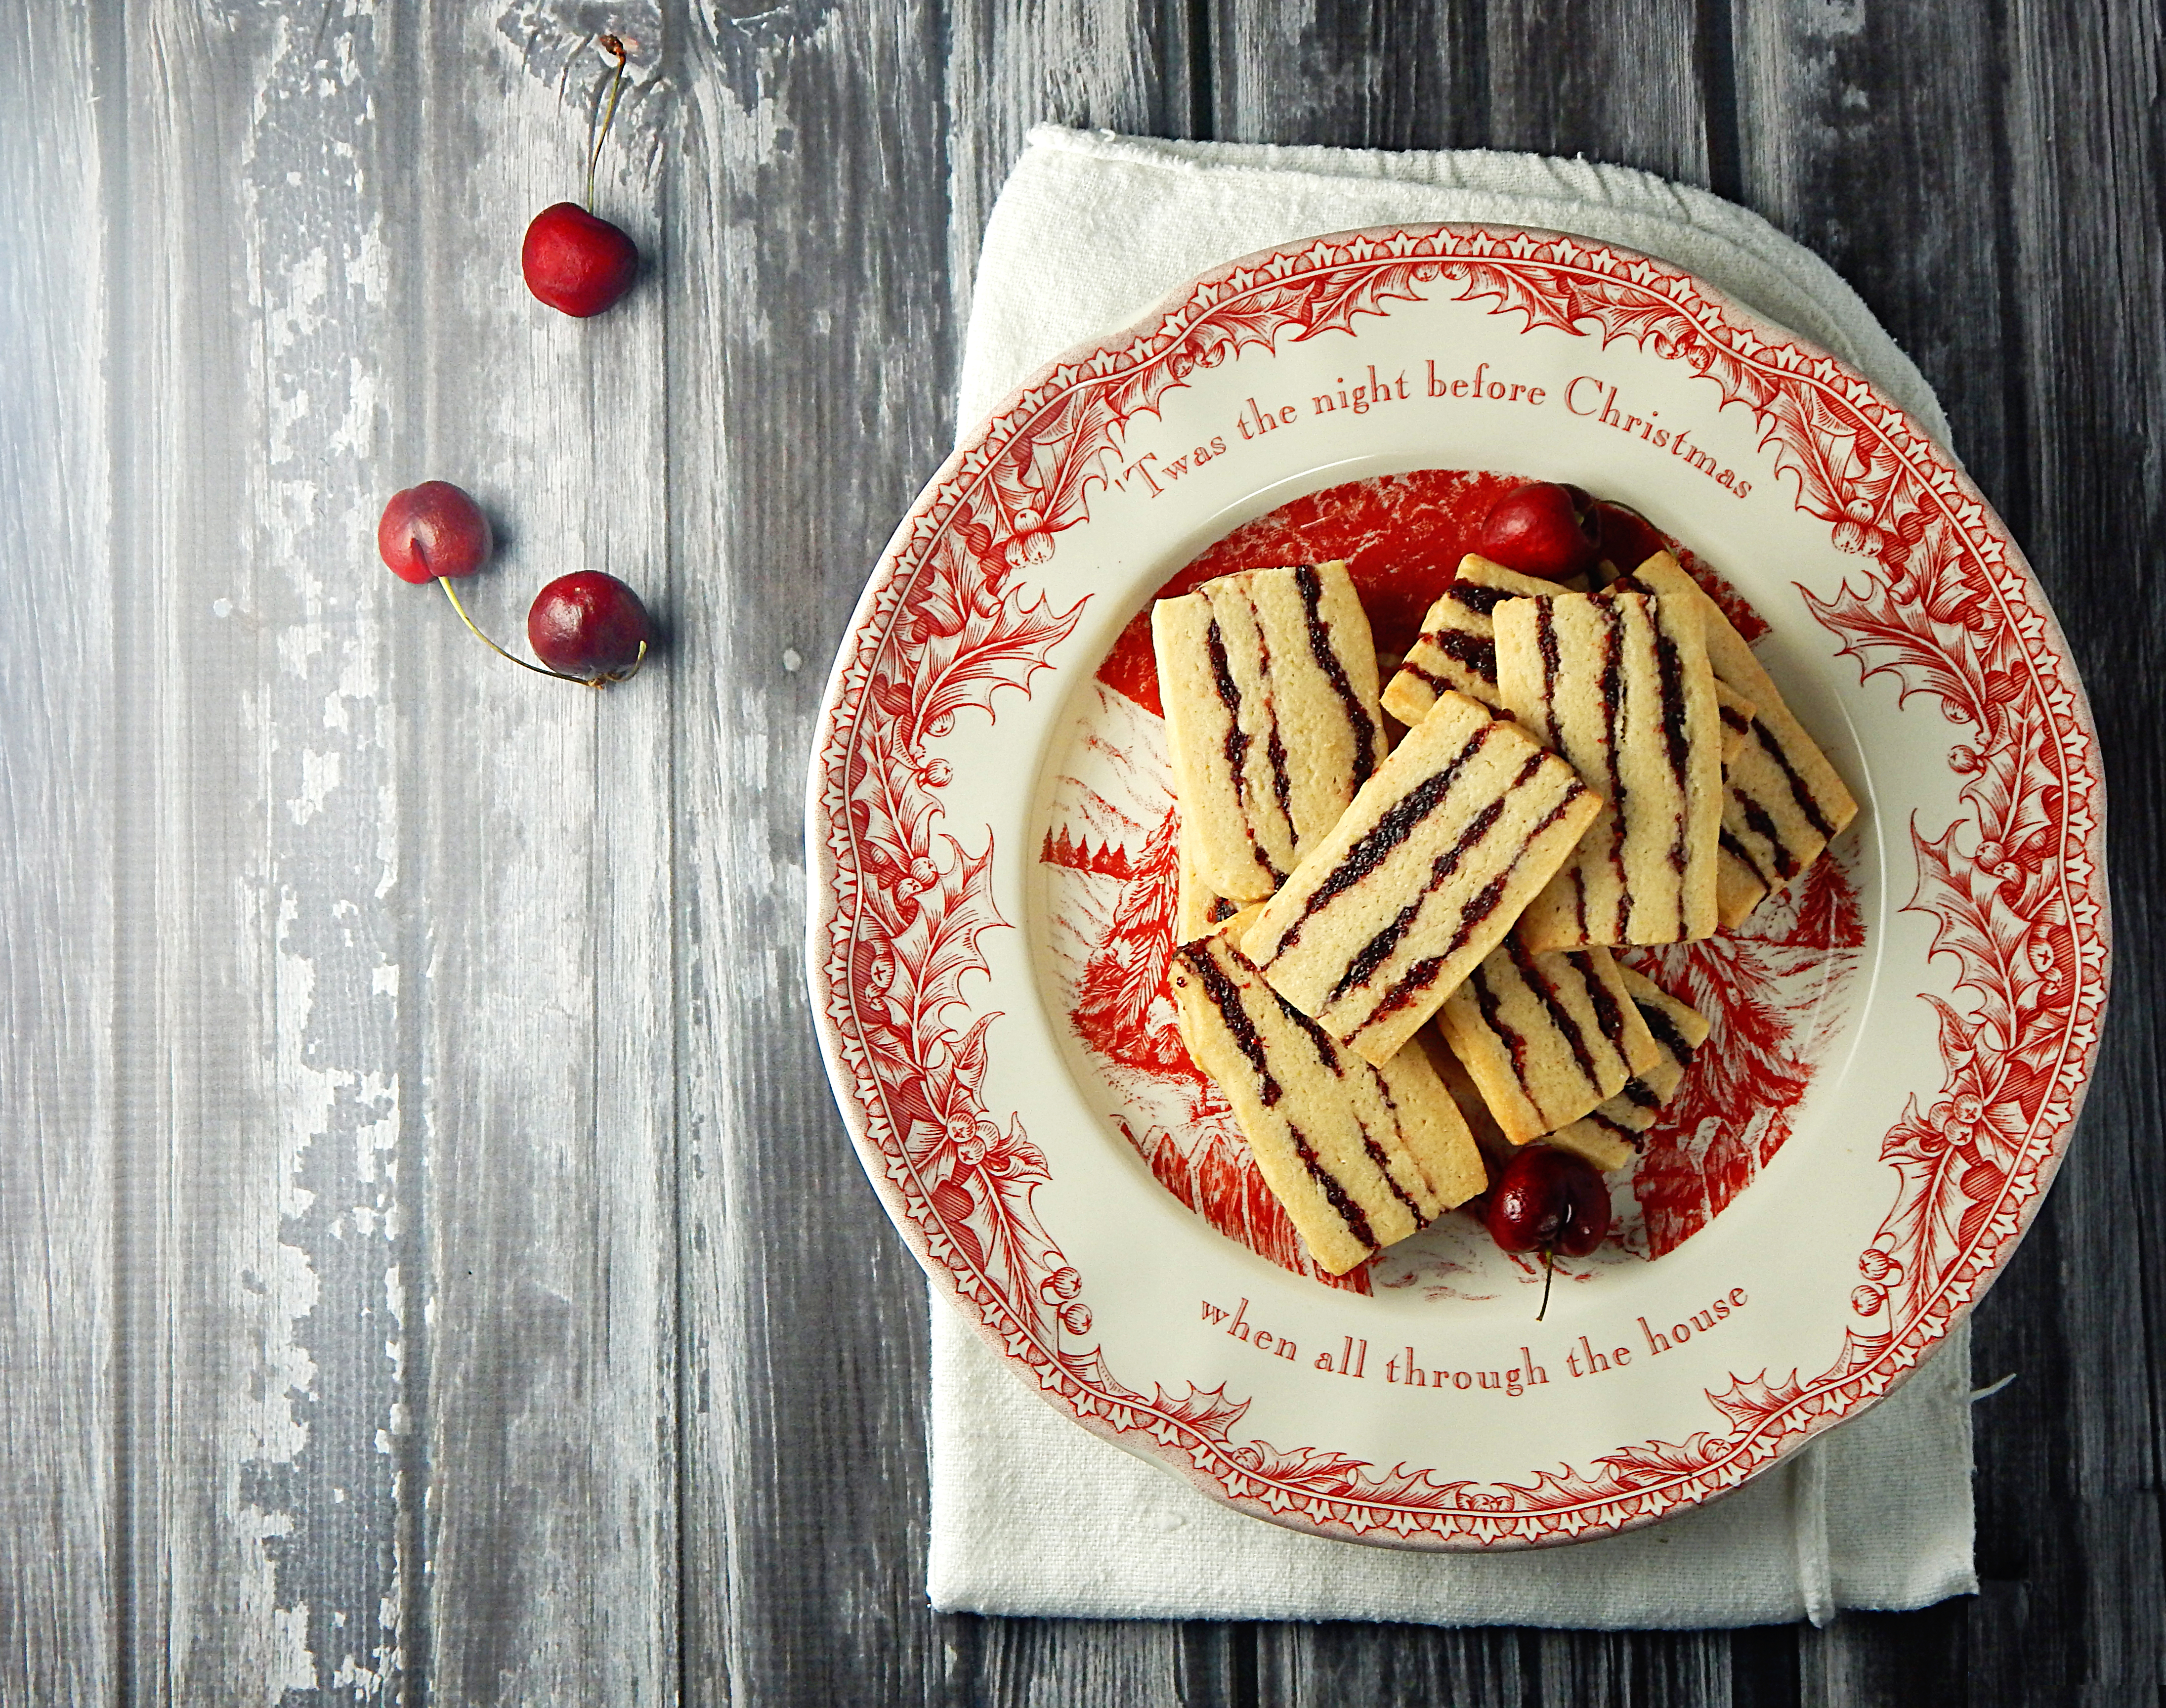
Cranberry Cherry Ribbon Cookies


You need to try these fun to make cookies! I got this recipe from a book I bought several years ago called The All American Cookie Book by Nancy Baggett. This book has been one of my favorites and I have a TON of cookbooks! Her recipes are all perfect, you seriously can’t go wrong whatever you choose to bake from it and her photos are gorgeous, but what I love the most is the history of each recipe and where it comes from. She also has the most entertaining excerpts from very old cookbooks when they were using wood burning stoves to get their baking done! For instance some of the kitchen wisdom that comes from Estelle Woods Wilcox from the book Buckeye Cookery and Practical Housekeeping, 1880 is this; “Many test their ovens in this way: if the hand can be held in the oven from twenty to thirty-five seconds (while counting twenty or thirty-five), it is a ‘quick’ oven, from thirty-five to forty-five seconds is ‘moderate,’ and for forty-five to sixty seconds is ‘slow.’ ” Can you imagine cooking like that?! I LOVE little glimpses into the past like this though!
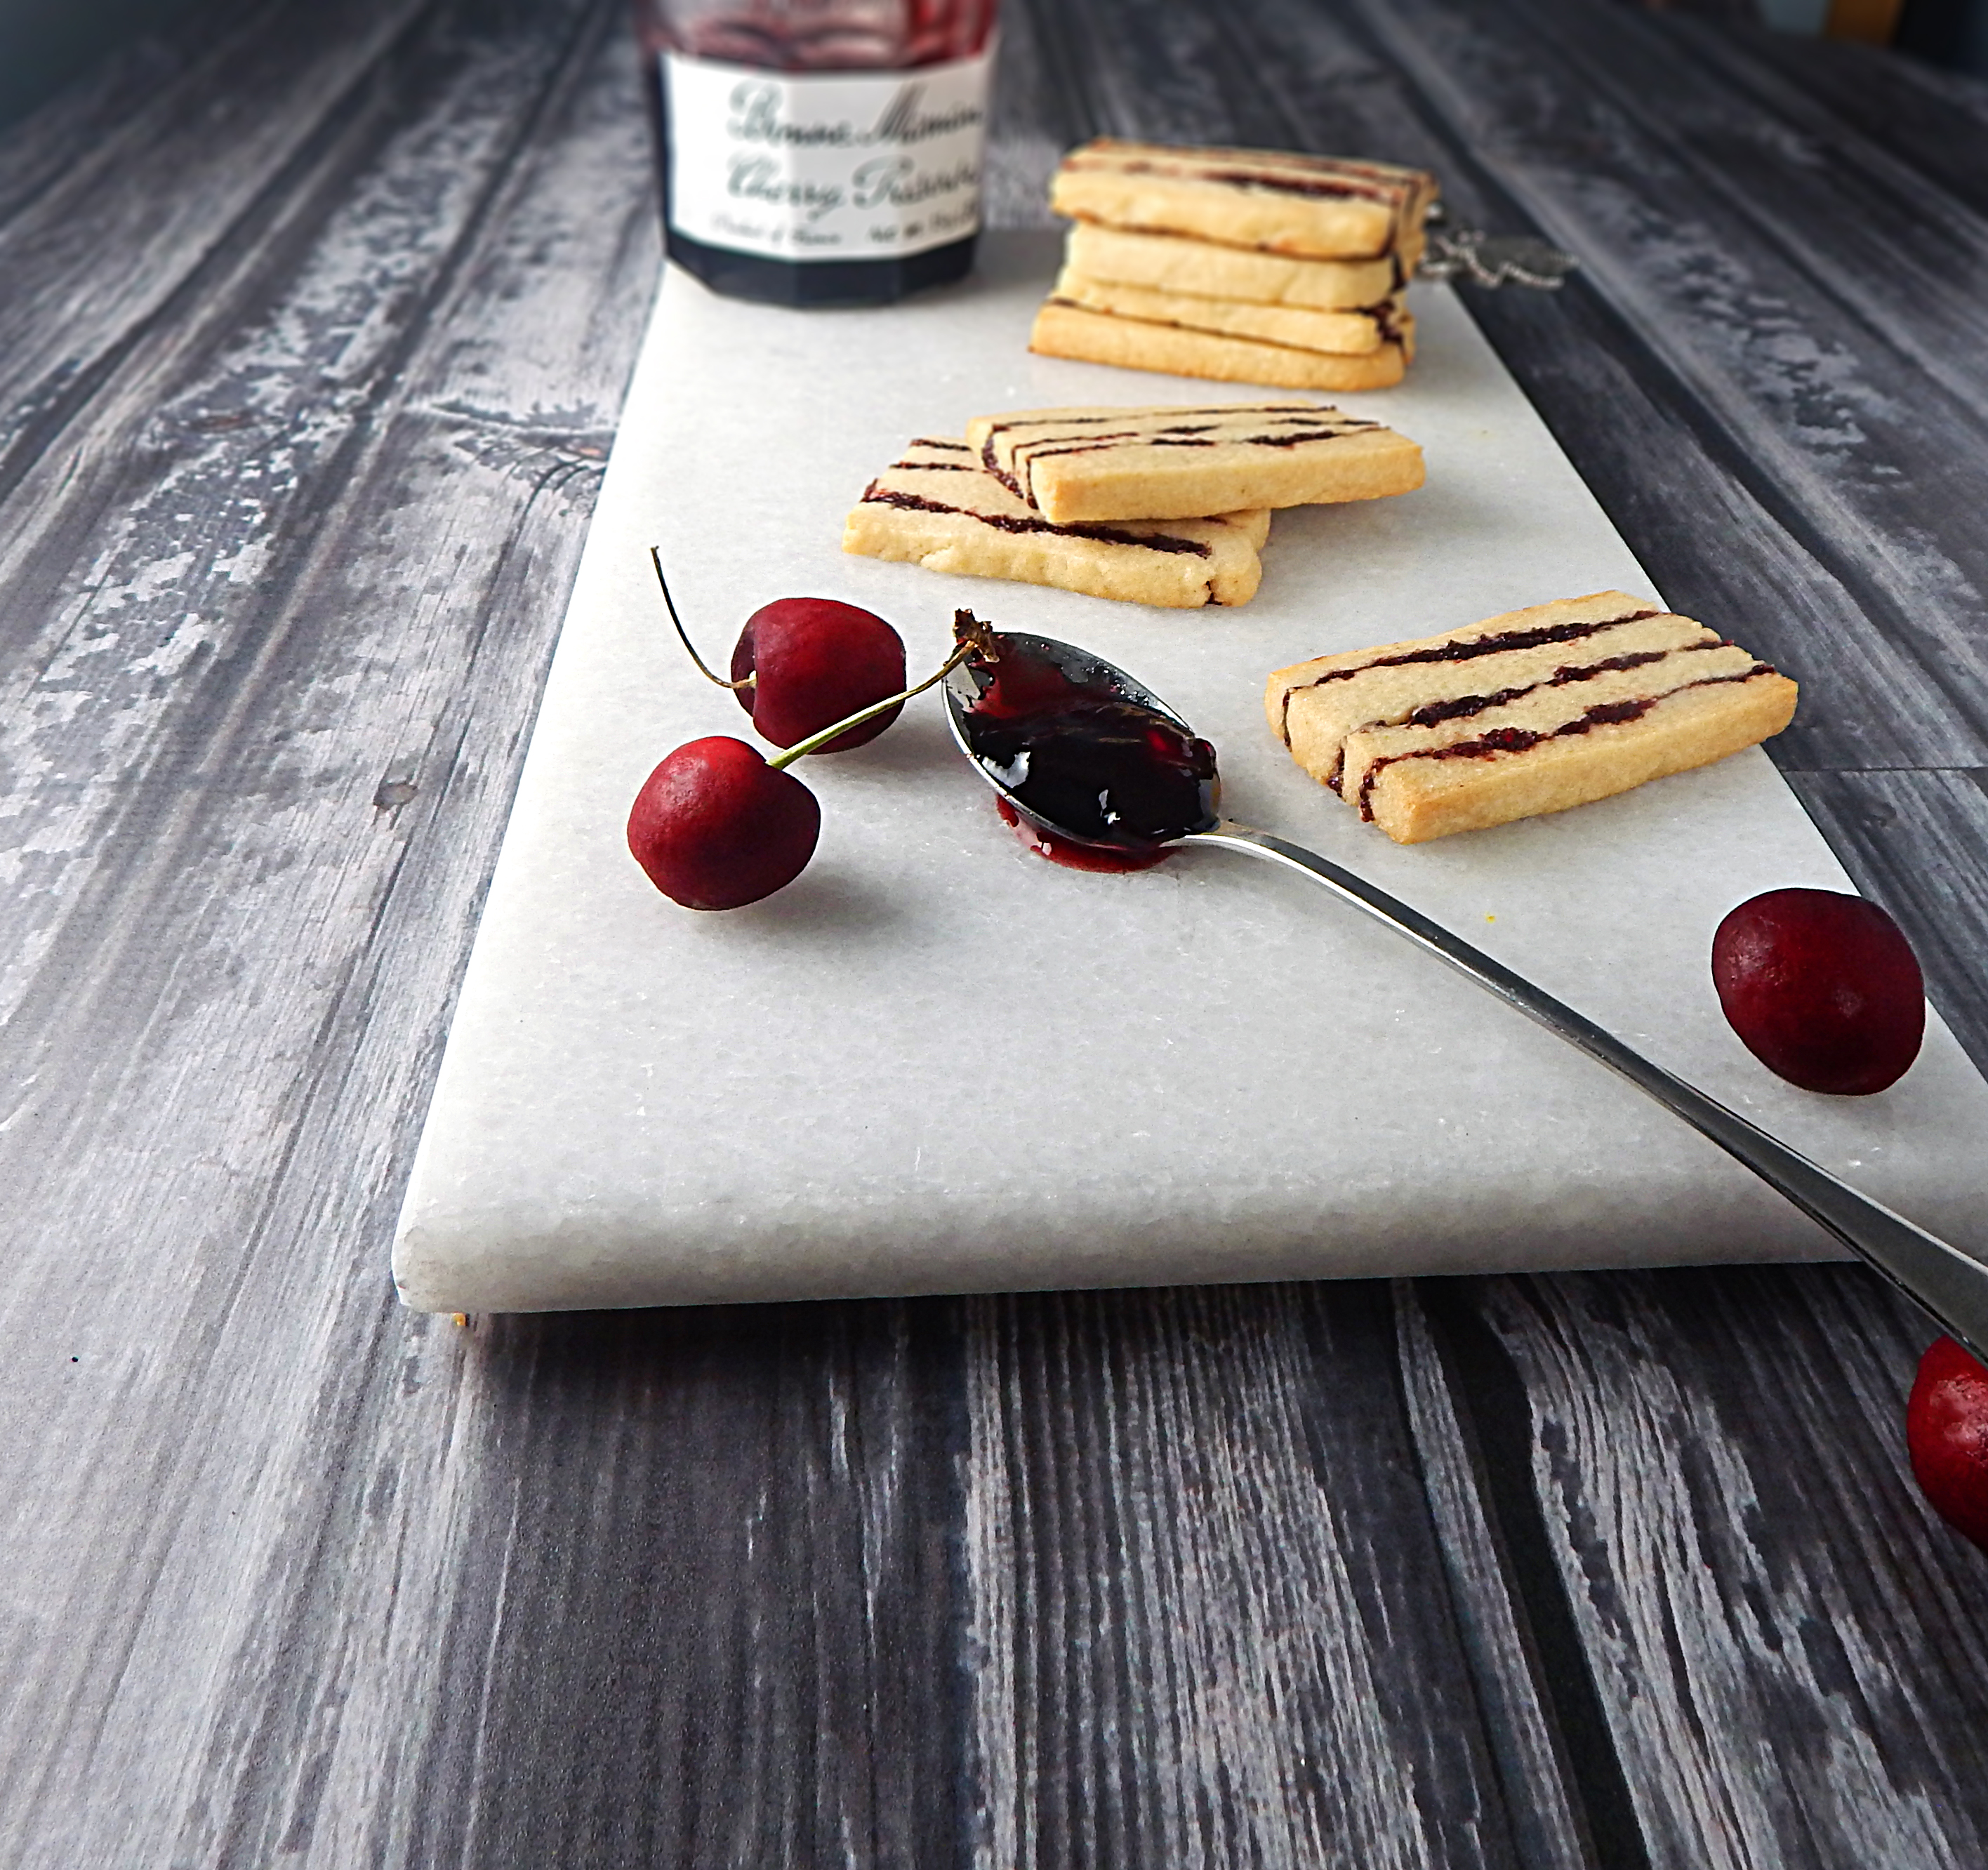
This recipe involves placing alternating layers of cranberry-cherry filling and vanilla dough in a loaf pan and freezing the stack until firm. The frozen loaf is cut crosswise into three long blocks, which are than cut lengthwise into pretty red and white striped ribbons and then baked.

These cookies have a great chewy-crispy texture and an exceptional fruit flavor and keep very well. The tart-sweet flavors are perfect together!

- Generous 3/4 cup dried sweetened cranberries
- Generous 1/3 cup cherry jam or preserves
- 1 1/2 tablespoons sugar
- 1/8 teaspoon almond extract
- 2 cups plus 2 tablespoons all purpose white flour
- 1/4 teaspoon baking powder
- 1/4 teaspoon salt
- 3/4 cups sugar
- 1 stick plus 2 2/3 tablespoons unsalted butter, slightly softened
- 1 large egg
- 2 1/4 teaspoons vanilla extract
- 1/2 teaspoon almond extract
- In a food processor, process the cranberries, jam or preserves, and sugar until coarsely pureed.
- Transfer the mixture to a small, heavy saucepan.
- Cook over medium-high heat, stirring occasionally, until it just comes to a boil; immediately remove from the heat.
- Let stand until cooled slightly.
- Stir in the almond extract.
- Cover and refrigerate for at least 1 hour, or until well chilled, or freeze for 30 minutes to speed chilling. (The filling may be refrigerated for up to 4 days; return to room temperature and stir before using.)
- In a medium bowl, thoroughly stir together the flour, baking powder and salt; set aside.
- In a large bowl, with an electric mixer on medium speed, beat together the sugar and butter until well blended and smooth.
- Add the egg, vanilla, and almond extract and beat until well blended.
- Beat or stir in the flour mixture just until evenly incorporated. Let the dough stand for 10 minutes, or until firmed up slightly.
- Line a 4 x 8 inch loaf pan with aluminum foil, letting the foil overhang the long sides by about 3 inches; this will keep the plastic wrap surrounding the dough from sticking to the pan. On top of the foil, line the pan with two long sheets of plastic wrap laid crosswise, overlapping in the middle and overhanging the longer sides by about 4 inches.
- Divide the dough into quarters. Working on a large sheet of wax paper, roughly pat each portion into the pan bottom, forming a smooth, even layer.
- Using a rubber spatula (or your fingers 🙂 ) spread 1/3 of the filling over the dough in the pan; the filling may seem stiff but spread it as evenly as possible. Repeat the layers using all four dough portions and filling.
- Fold the plastic wrap over the dough. Freeze until the loaf is cold and very firm, at least 1 1/2 hours and preferably longer. The dough can be transferred to an airtight plastic bag and frozen for up to 1 month.
- Preheat oven to 350 degrees F. Grease several baking sheets or coat with non-stick spray.
- Carefully peel the plastic wrap from the loaf. Using a large, sharp knife carefully cut the loaf cross-wise into thirds. Working with one block at a time keeping the others refrigerated, cut each third into 1/4 inch thick slices; wiping the kife clean between cuts if needed. Using a spatula, carefully transfer the slices to the baking sheets, placing them cut side up about 2 inches apart.
- Bake the cookies, one sheet at a time in the upper third of the oven for 9 to 14 mintues, or until just slightly darker at the edges. Reverse the sheet from front to back halfway through baking to ensure even browning. Using a spatula, immediately transfer the cookies to wire racks. Let stand until completely cooled.
- Store in an airtight container for up to 1 week or freeze for up to 1 month.
Fruitcake Cookies

I first made these cookies for my Dad’s 80th birthday celebration. We did a 1930’s theme and I wanted to make a few things that people were eating in the ’30’s and fruitcake was on the list. Since we were having a lot of people over I decided that fruitcake cookies would go further and be easier to serve.

I’ll be honest, I don’t like fruitcake. Not even a little bit. I was hesitant to even bake these but I figured someone might like them…well…that someone turned out to be me! I LOVE these cookies! You seriously cannot eat just one! They are very different than my last recipe that I posted, the ooey-gooey Mississippi Mud Brownies, in that they are a more refined cookie…if a cookie can be refined. They are seriously these elegant little lightly sweetened and spiced cookies perfectly studded with fruit, nuts, and a hint of sherry and are perfect with a cup of tea or coffee.

The really do feel like Christmas on a plate! I seriously challenge you. If you don’t like fruitcake, try these, see what you think. I bet you can’t just eat one!

Here are a few pics from that party I thought I’d share just for fun! 🙂 I <3 my Dad!

Top left to right- Dad, Yes, I have a big mouth, 1930’s candy, the cigarette candy was a big hit! Bottom left to right-Guests with 1930’s clothing, kids loved the homemade photobooth, my pretty Mom

- 1 pound of candied fruit (I used Paradise Old English Fruit and Peel Mix, if you can only find the larger candied fruit you will need to chop them into smaller bits.)
- 1 tablespoon honey
- 2 tablespoons dry sherry
- 1 tablespoon freshly squeezed lemon juice
- 6 ounces chopped pecans
- Kosher salt
- 1/2 pound (2 sticks) unsalted butter, at room temperature
- 1/2 teaspoon ground cloves
- 1/2 cup superfine sugar (just whirl granulated sugar in a food processor or blender to make superfine sugar)
- 1/3 cup light brown sugar, firmly packed
- 1 extra-large egg
- 2 2/3 cups all-purpose flour
- Combine candied fruit, honey, sherry, lemon juice, pecans, and a pinch of salt. Cover with plastic wrap and allow to sit overnight at room temperature.
- Using a mixer, cream the butter, cloves, superfine sugar, and brown sugar on medium speed until smooth, about 3 minutes. With the mixer on low speed, add the egg and mix until incorporated.
- With the mixer still on low, slowly add the flour and 1/4 teaspoon salt just until combined. Don't over mix. Add the fruits and nuts, including any liquid in the bowl.
- Divide the dough in half and place each half on the long edge of a 12 by 18-inch piece of waxed paper. Roll each half into a log, 1 1/2 to 1 3/4-inch thick, making an 18-inch-long roll. Refrigerate the dough for several hours, or until firm.
- Preheat the oven to 350 degrees.
- Slice the logs into 1/2-inch-thick slices. Place the slices 1/2-inch apart on ungreased sheet pans and bake for 15 to 20 minutes, until lightly golden
- Don't forget to start these a day before you need them as they need to sit in the dry sherry mixture.


